
Herbed Turkey Burgers w/ Sweet Potato Fries + Homemade Buns
nom nom nom
We are kicking off Foodie Friday with a favorite meal in the McDaniel household. I was hesitant to start with this meal because it is honestly the single most time intensive meal that I make. I was afraid that y'all might see how much time I put into this meal, think I was a crazy lady, and decided you couldn't relate to me food-wise whatsoever. But, I couldn't help it. This is our favorite thing to eat and I didn't want to keep it from you! So, don't bail on me just yet! Every single other recipe is way less time consuming. Stick with me!
To help keep you from being discouraged, you should know that the sweet potato fries are the only thing I make every day when we eat this multiple days. The buns and burgers can be made one day then eaten over a period of time. We are "leftover people" and typically eat the same thing for dinner 3 or even 4 nights a week. That should be a testament to how tasty this meal is!
I'll leave you with this helpful hint then we will get started. I recently learned, via The Daniel Plan, the french term mise en place. This simply means "everything in its place". This is put into action by gathering all your ingredients together in a central location BEFORE you start cooking. This saves time and energy while you're in the thick of it.
Now, to give credit where credit is due. The burger and fries recipes came from The Daniel Plan. The hamburger bun recipe came from the endearing lady at Humorous Homemaking. The recipes have been tweaked to fit our lifestyle (dairy free) and I added in my own suggestions. Three cheers for the originators though! They are the real chef's!
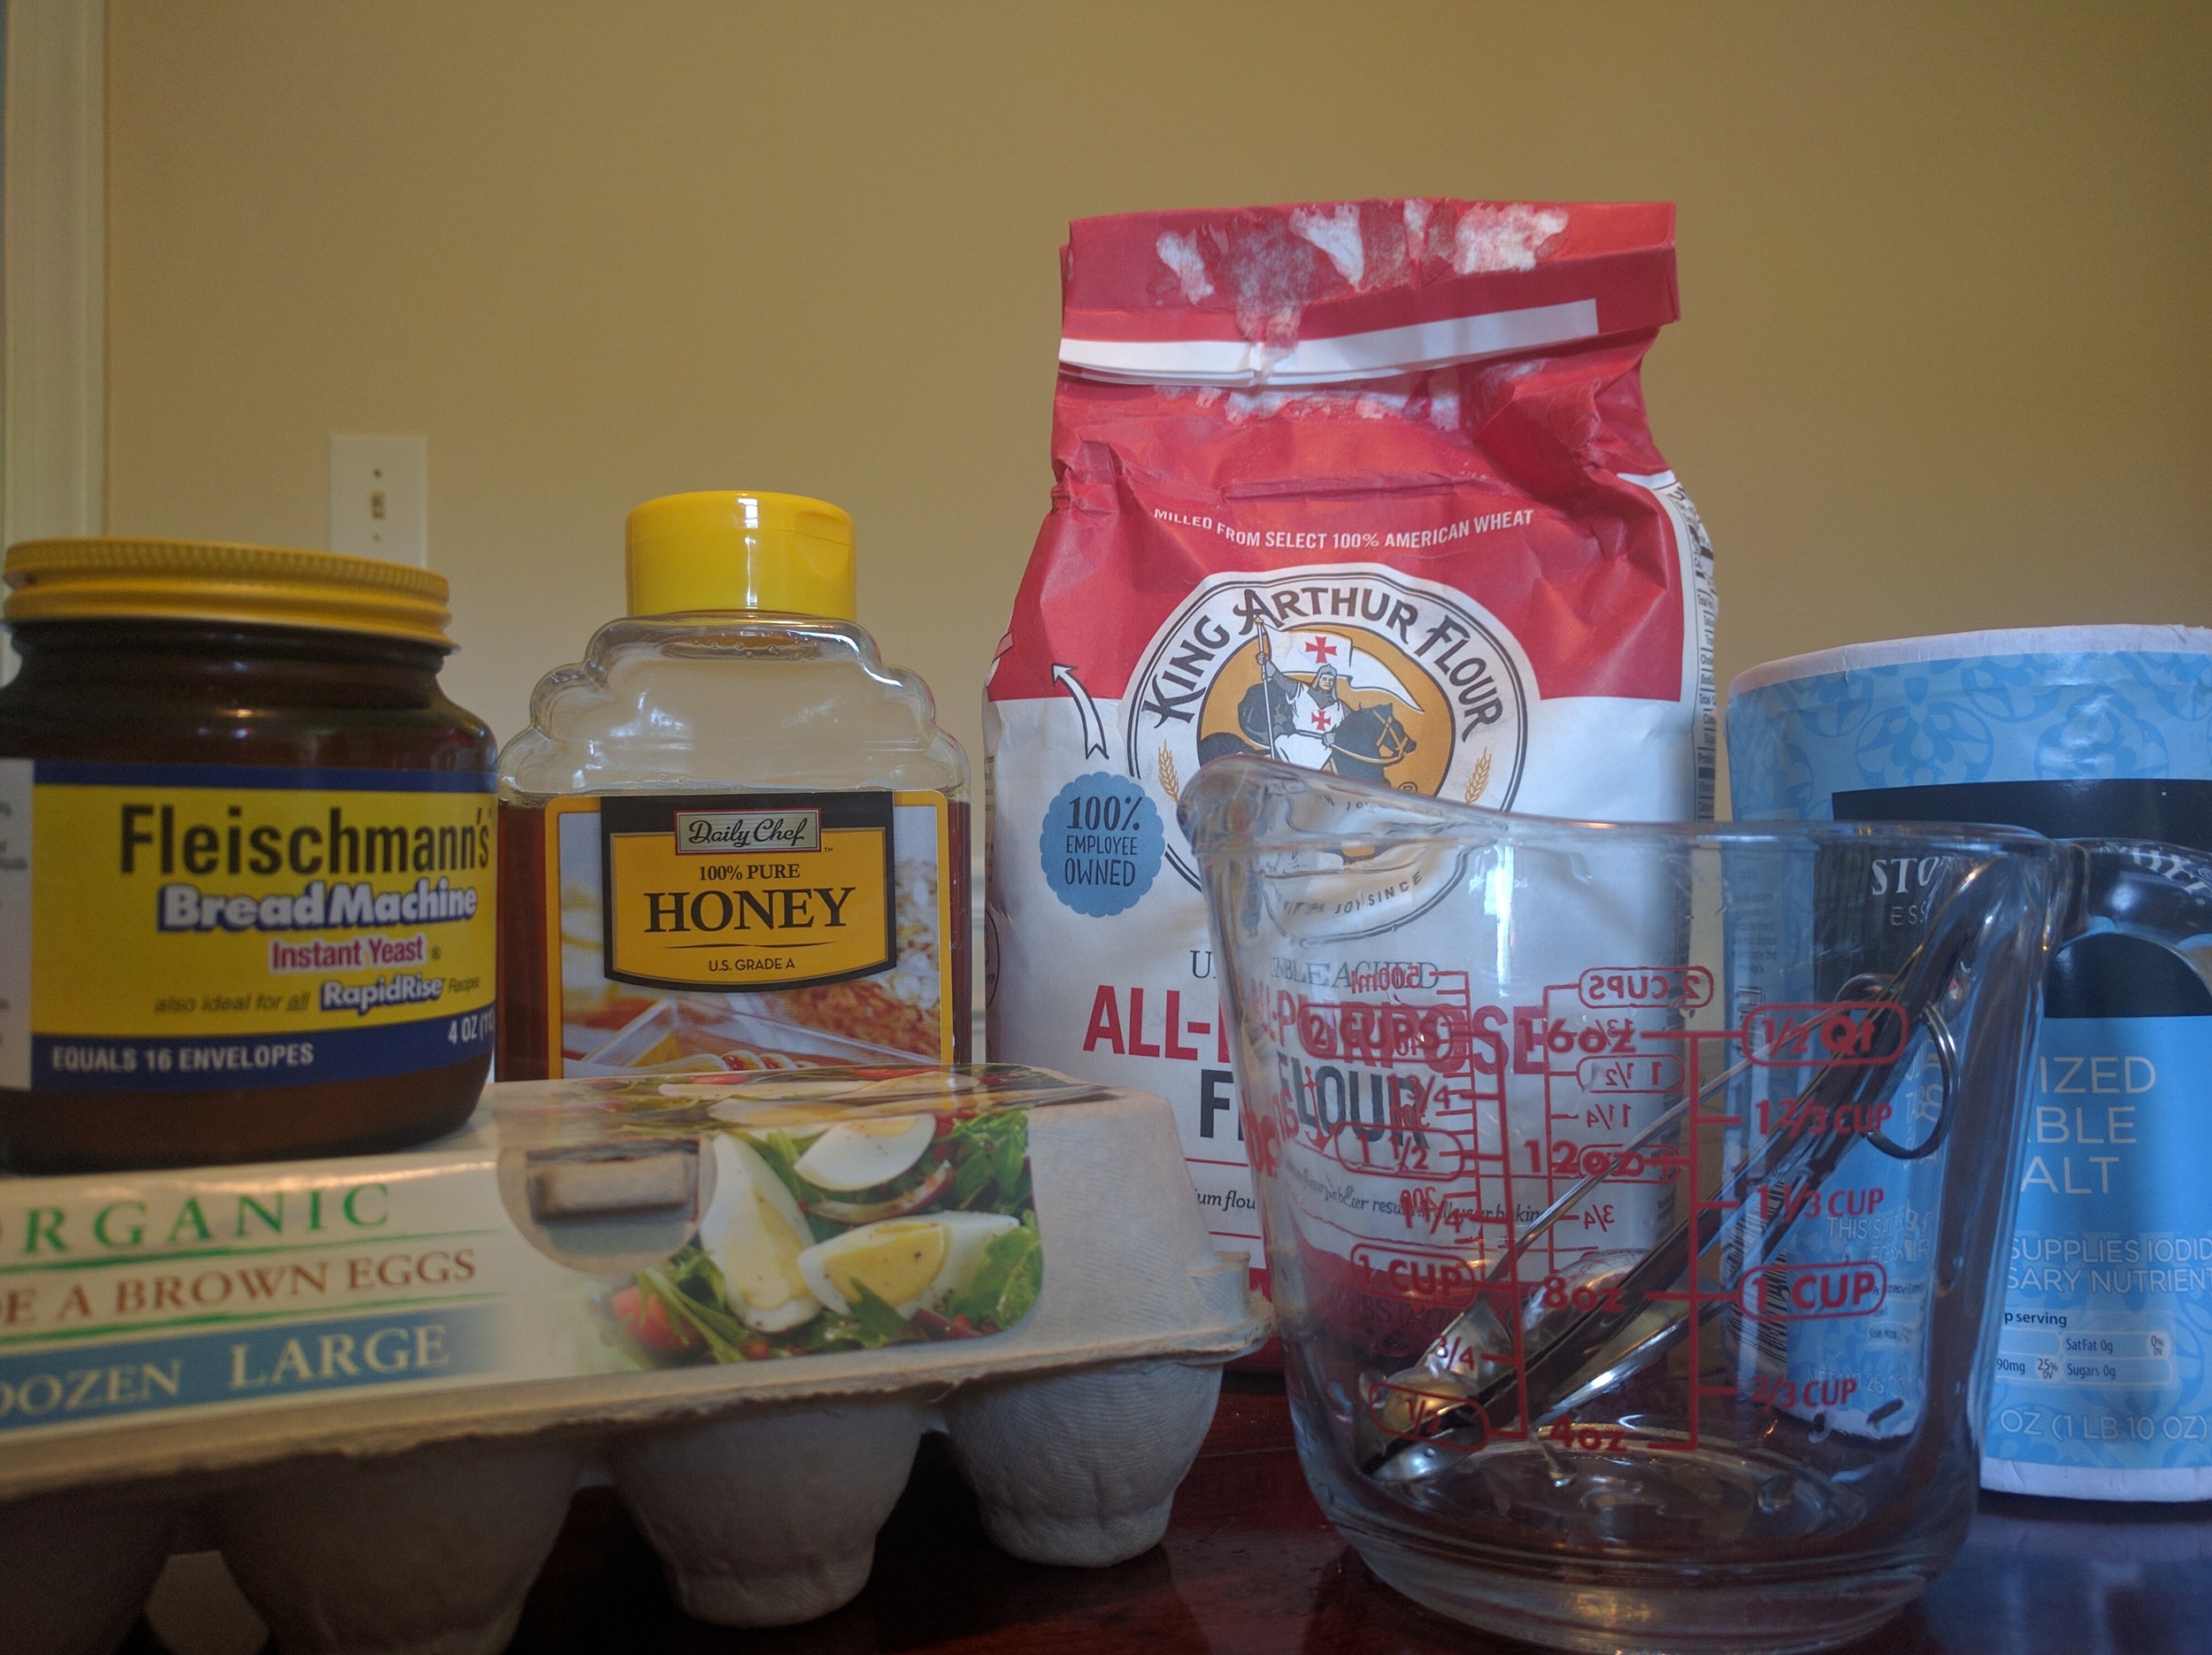
Mise en Place at work!

hint: buy your yeast in these jars instead of the packets! cheaper in the long run.
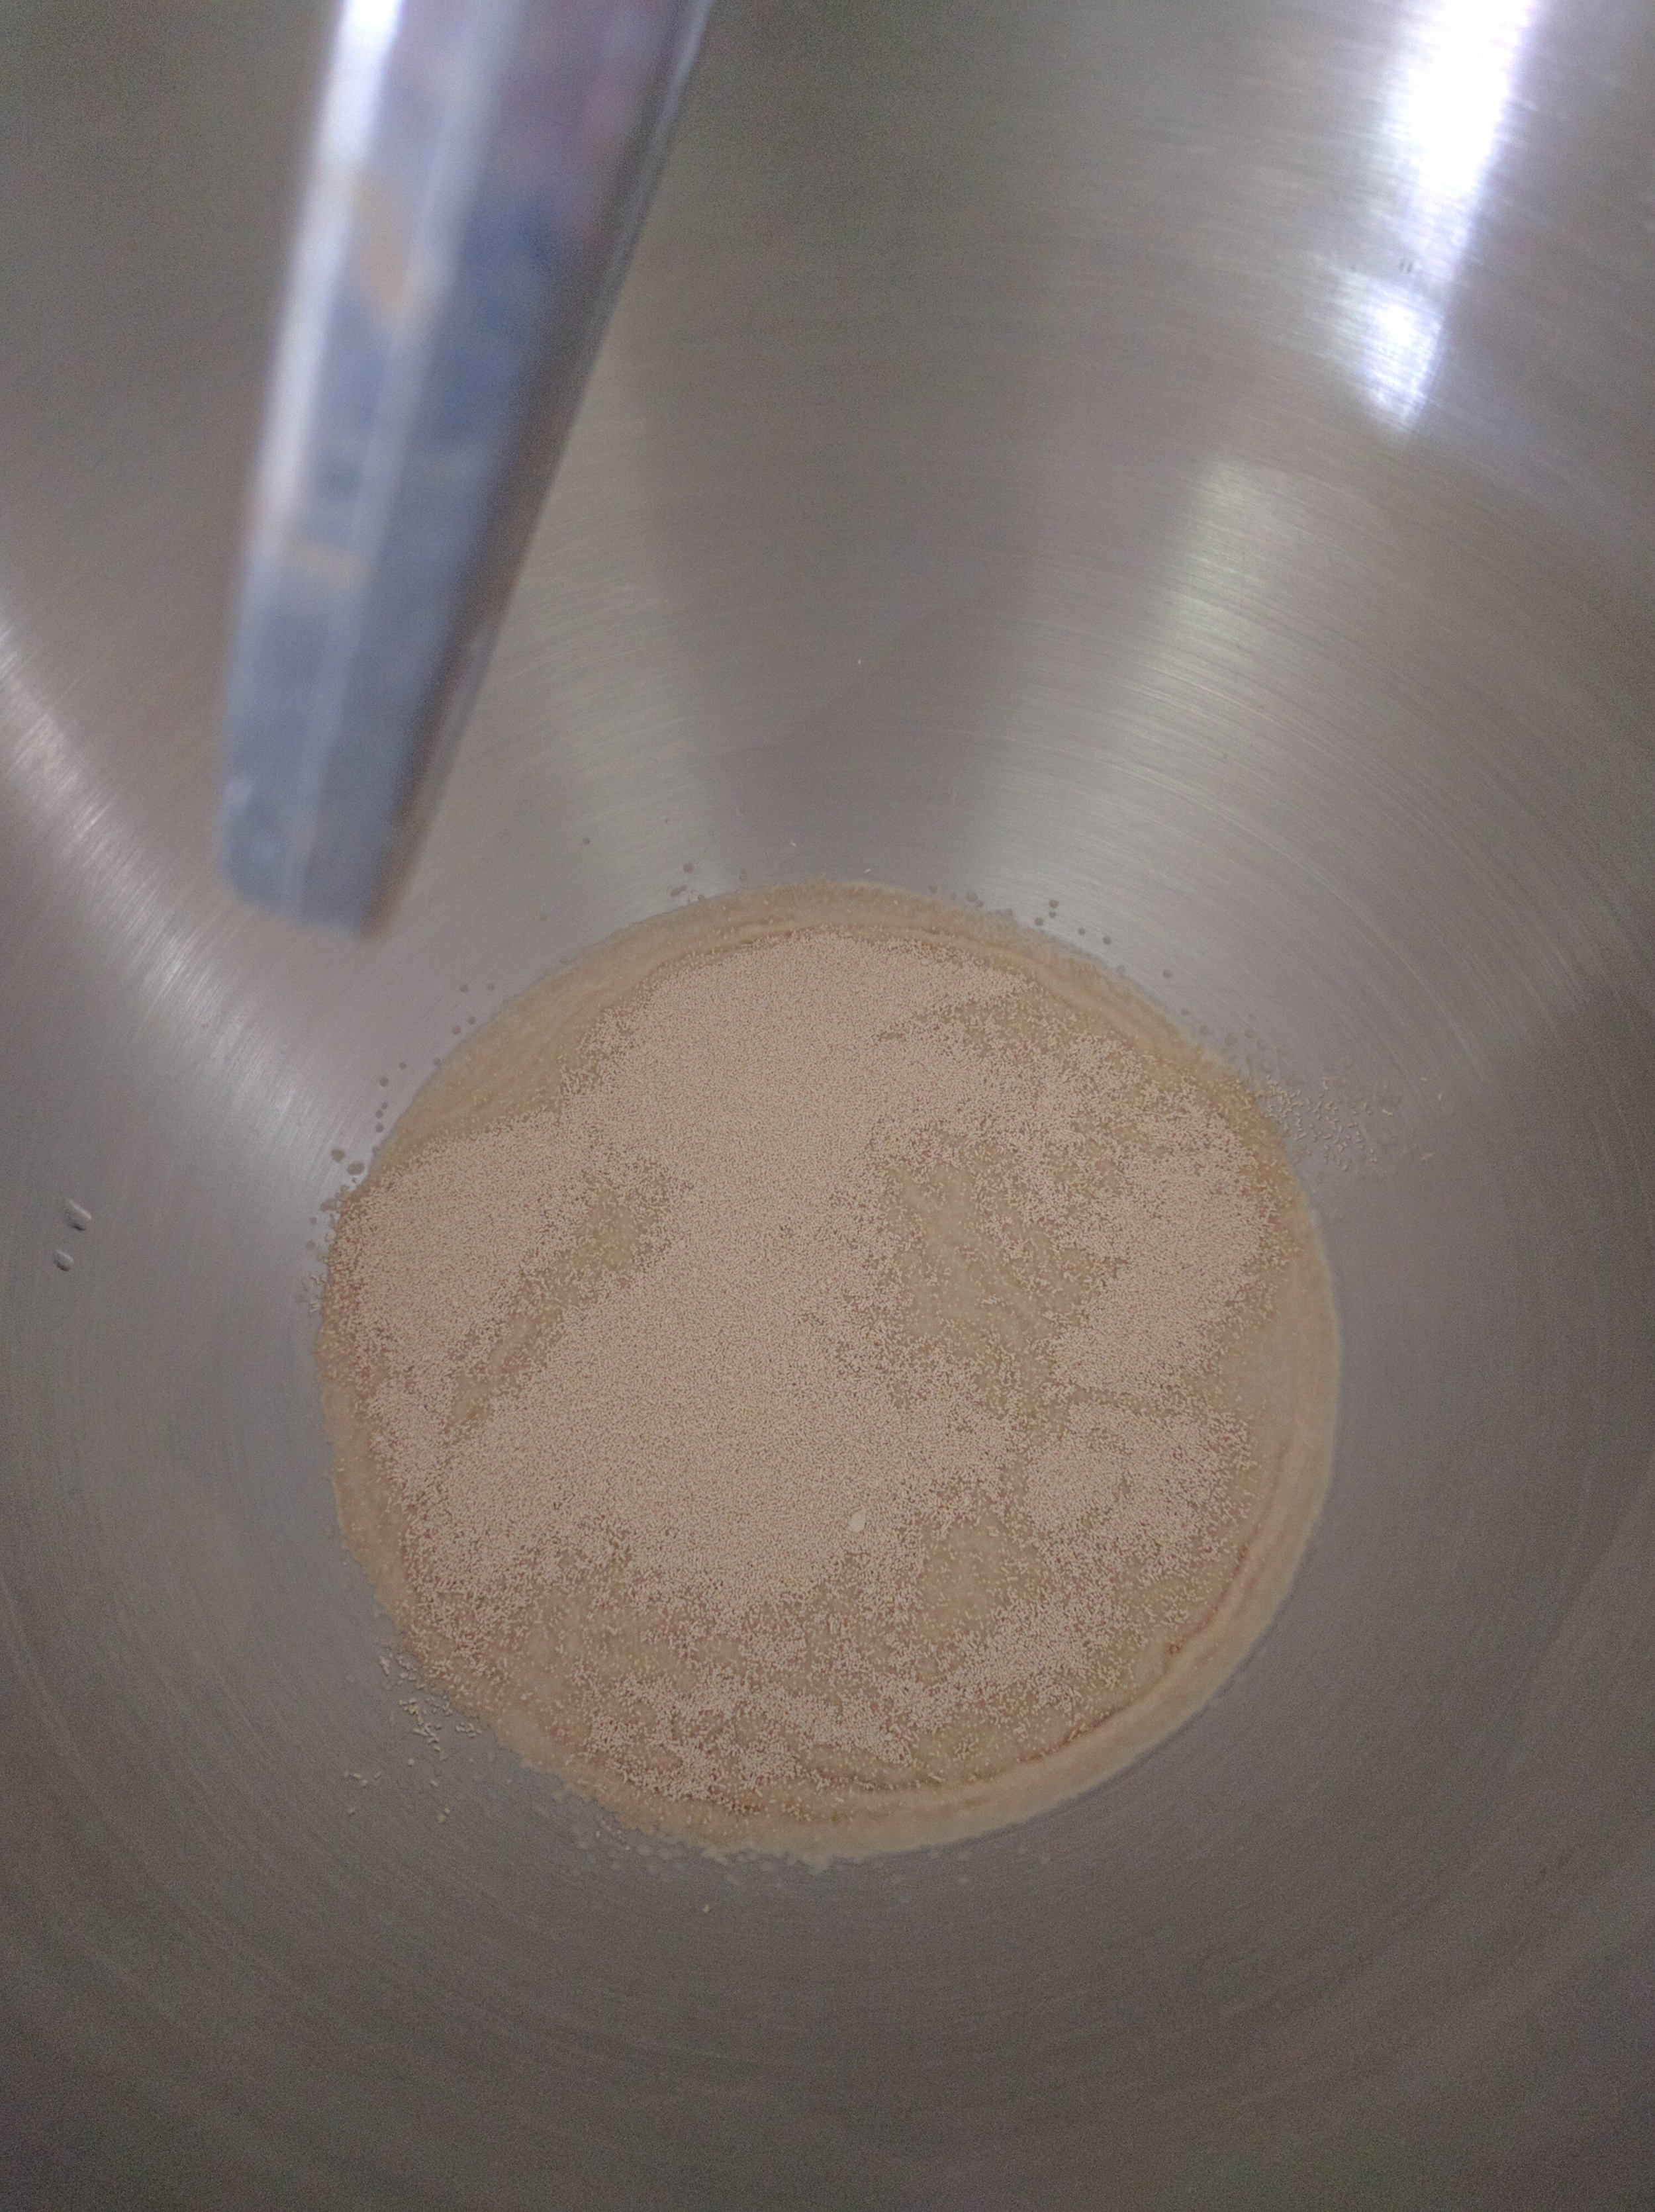
just a little yeast doing its thing!

They even look like they would taste good all dough-y! But don't snack, they have raw egg in them after all.

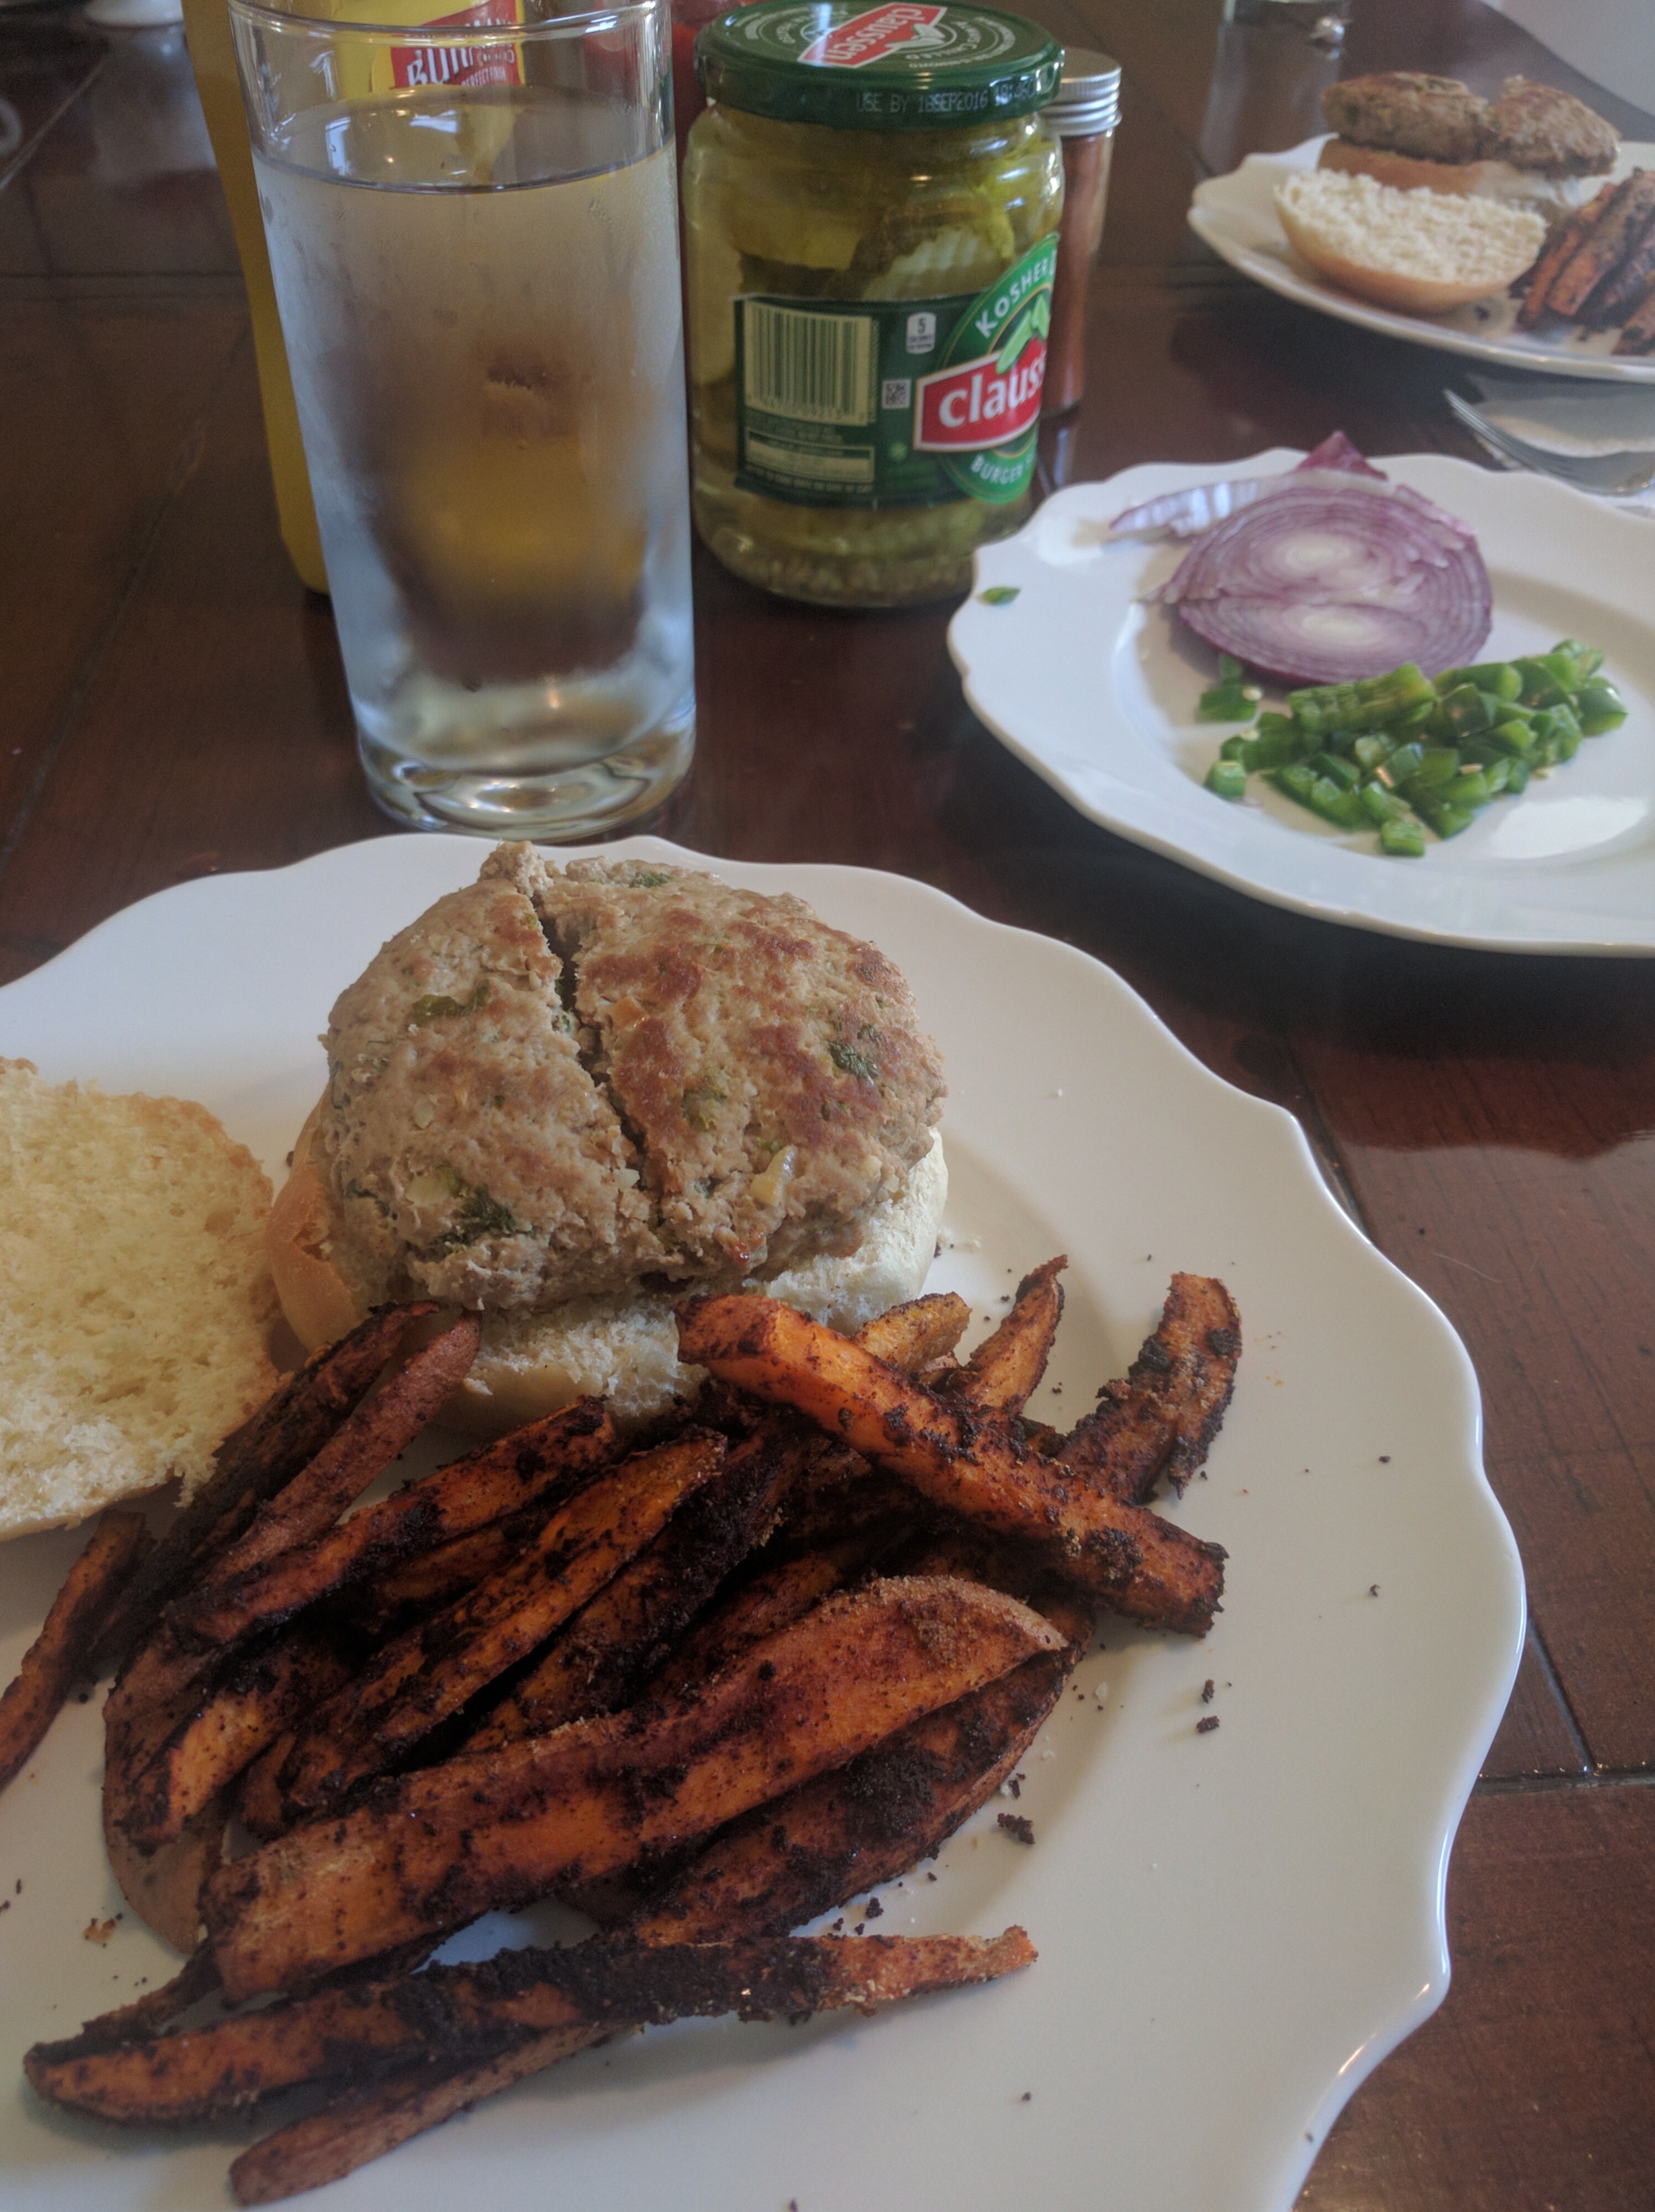
Ta-Da! De-lish!
- 3/4 cups warm water
- 3 tsp instant yeast
- 2 tbsp honey
- 1 egg
- 1 tsp salt
- 2 1/2-3 cups all purpose flour (I use organic, white or whole wheat)
- Optional: 2 tbsp melted butter (the original recipe calls for this but we leave it out and they are still super tasty)
- Pour the warm water into the bowl of your stand mixer and add the 3 tbsp of instant yeast. Leave it for 5 minutes.
- Add your egg, honey, and butter (if you choose to use it) to the bowl then mix until smooth.
- Add 2 cups of the flour and beat until smooth.
- Add in your salt and the rest of the flour (I never use a whole 3 cups). Knead on your stand mixer for 6 minutes.
- Use a kitchen towel to cover the bowl and let it rest for 10 minutes.
- Divide dough into 8 pieces and shape into buns.
- Grease a piece of parchment paper (I just use a small dab of EVOO) and place it on a cookie sheet. Lay the 8 buns onto the paper and flatten (I use a second cookie sheet that has been oiled on the bottom to squish those buns).
- Set the buns aside and let them rise for an hour. If you want you can brush the tops with beaten egg or butter then sprinkle sesame seeds or poppy seeds on top for added flair!
- Bake at 350 for 15 minutes (and then try to resist eating them as soon as you pull them out. They smell great but they are HOT!)
- Slice with a serrated knife, add all your favorite toppings, then go grab a turkey burger!
This recipe makes 8 buns, BIG buns that is. I like big buns and I cannot lie! They get a little stale after 3 days, but do great if you freeze then thaw. Or so the original chef says. We eat them up and haven't frozen any yet!
Sweet Potato Fries
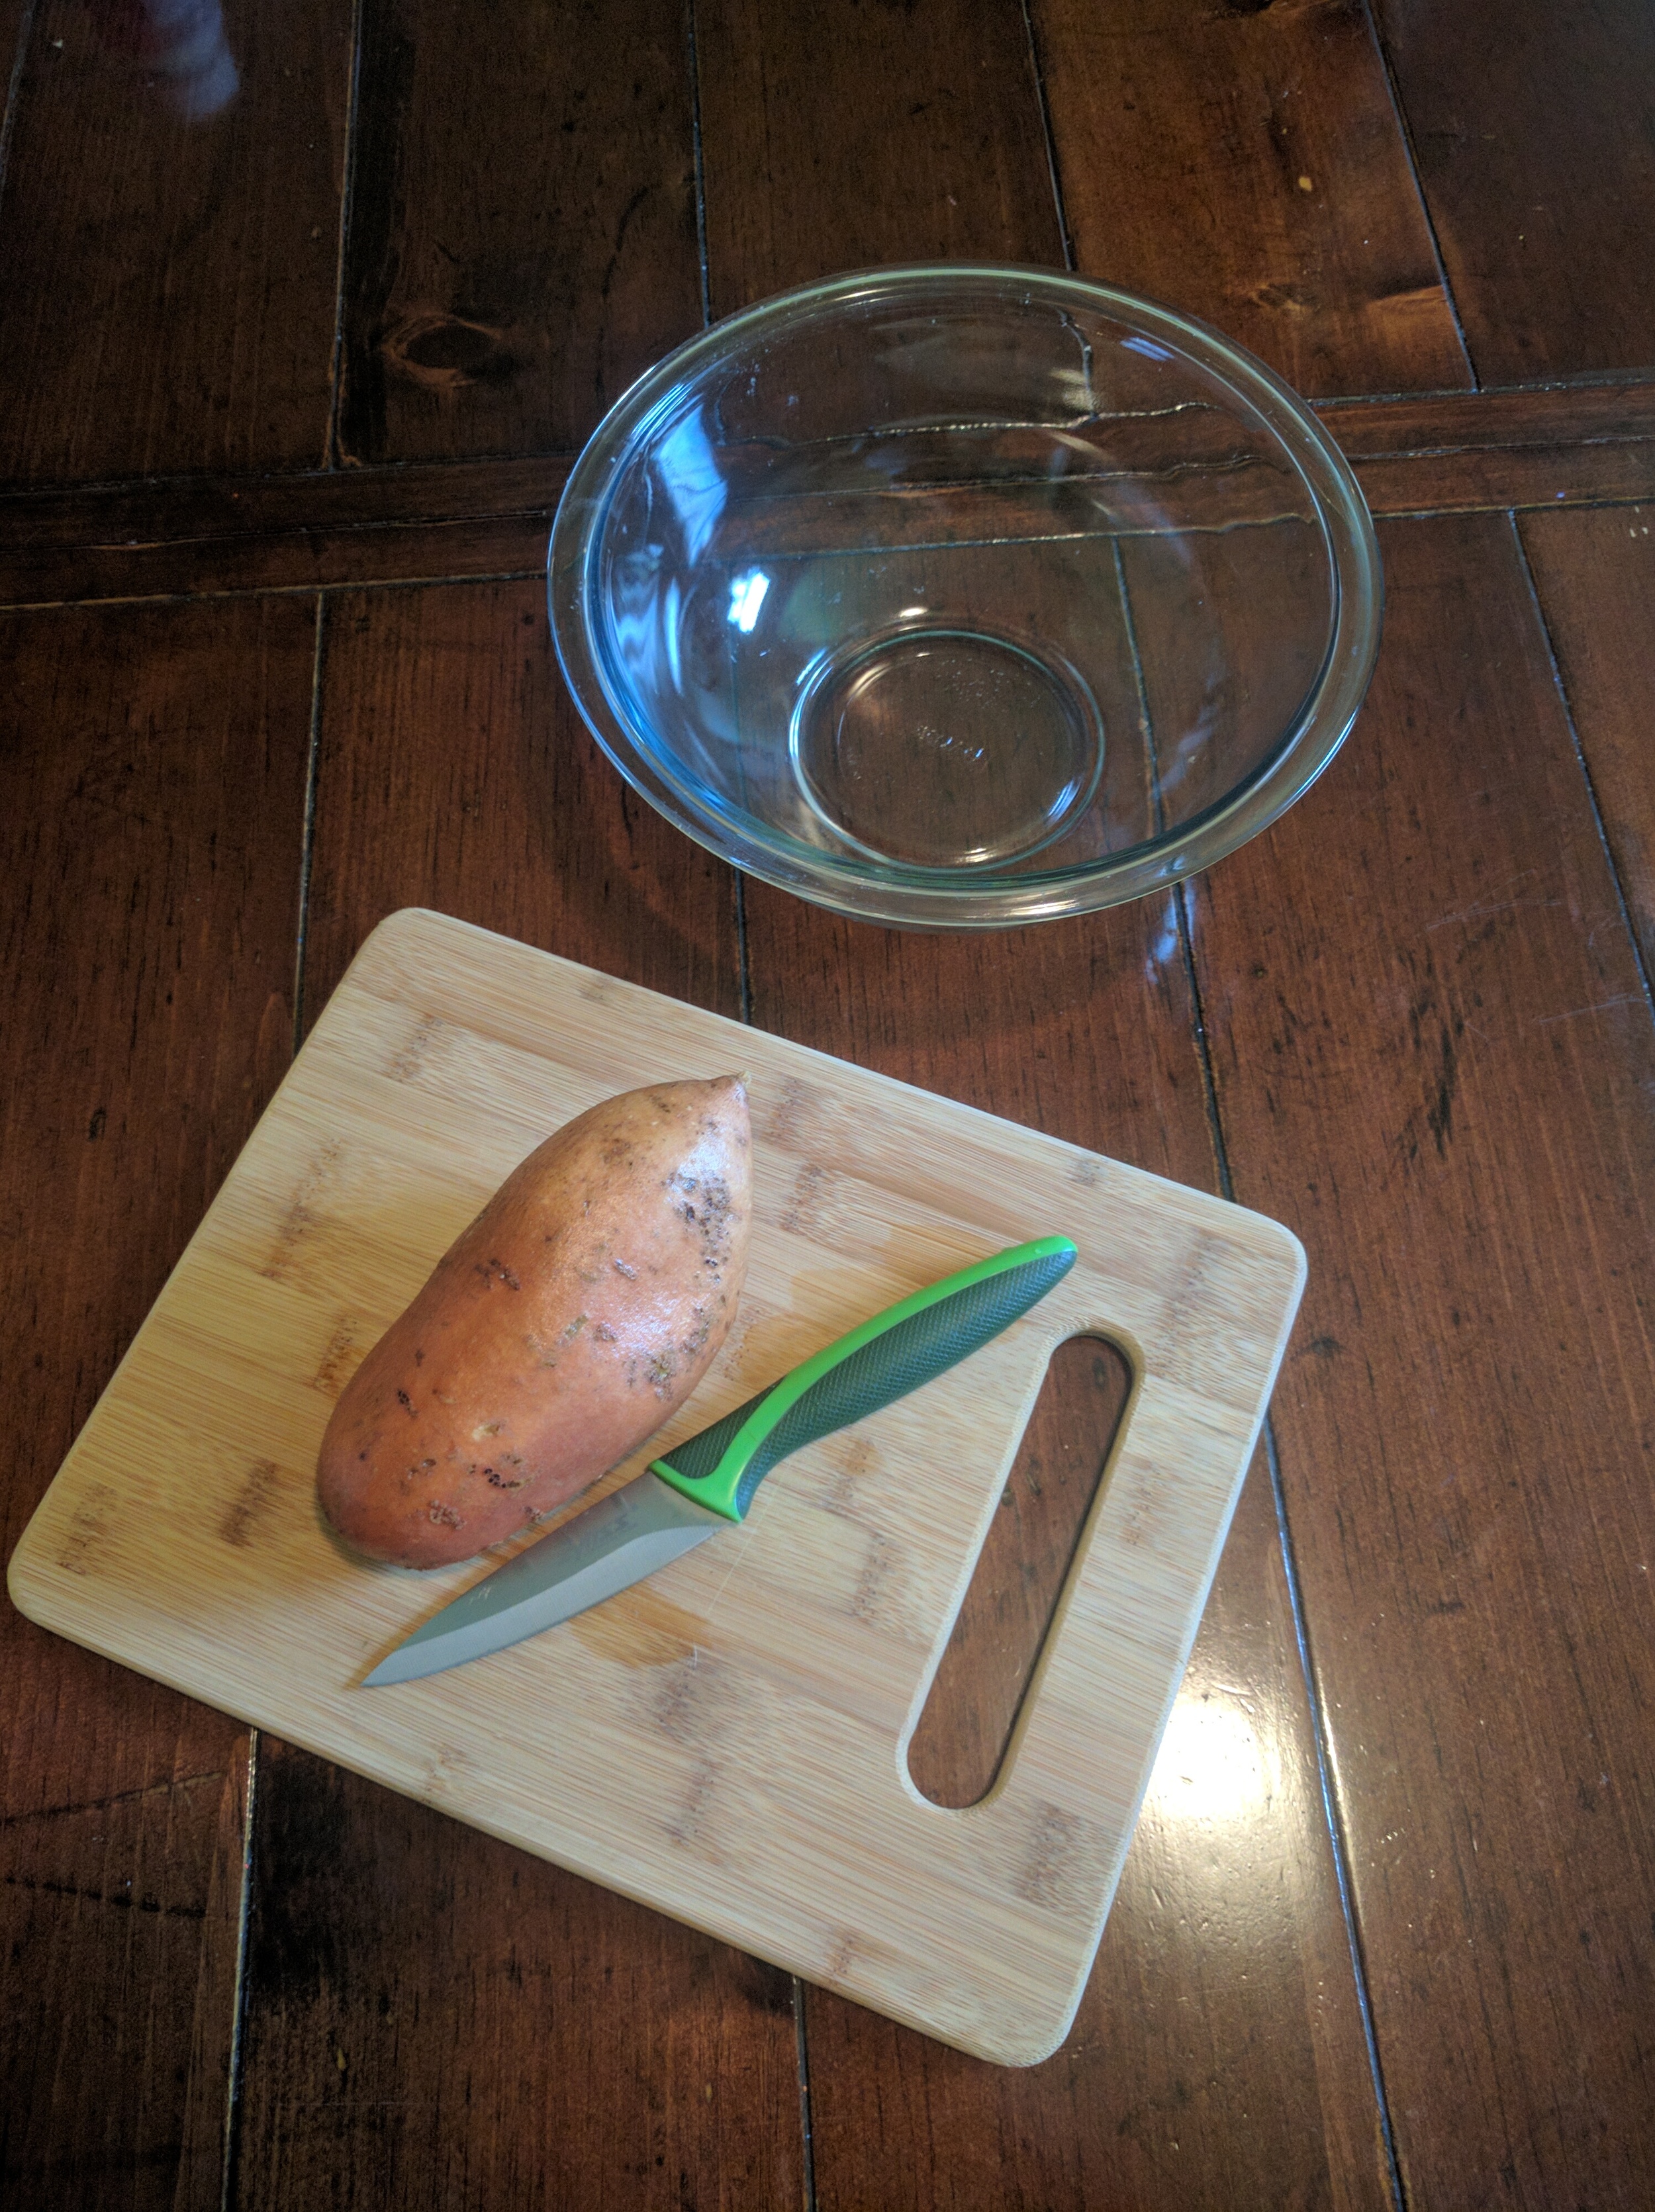
This potato has a TASTY future!
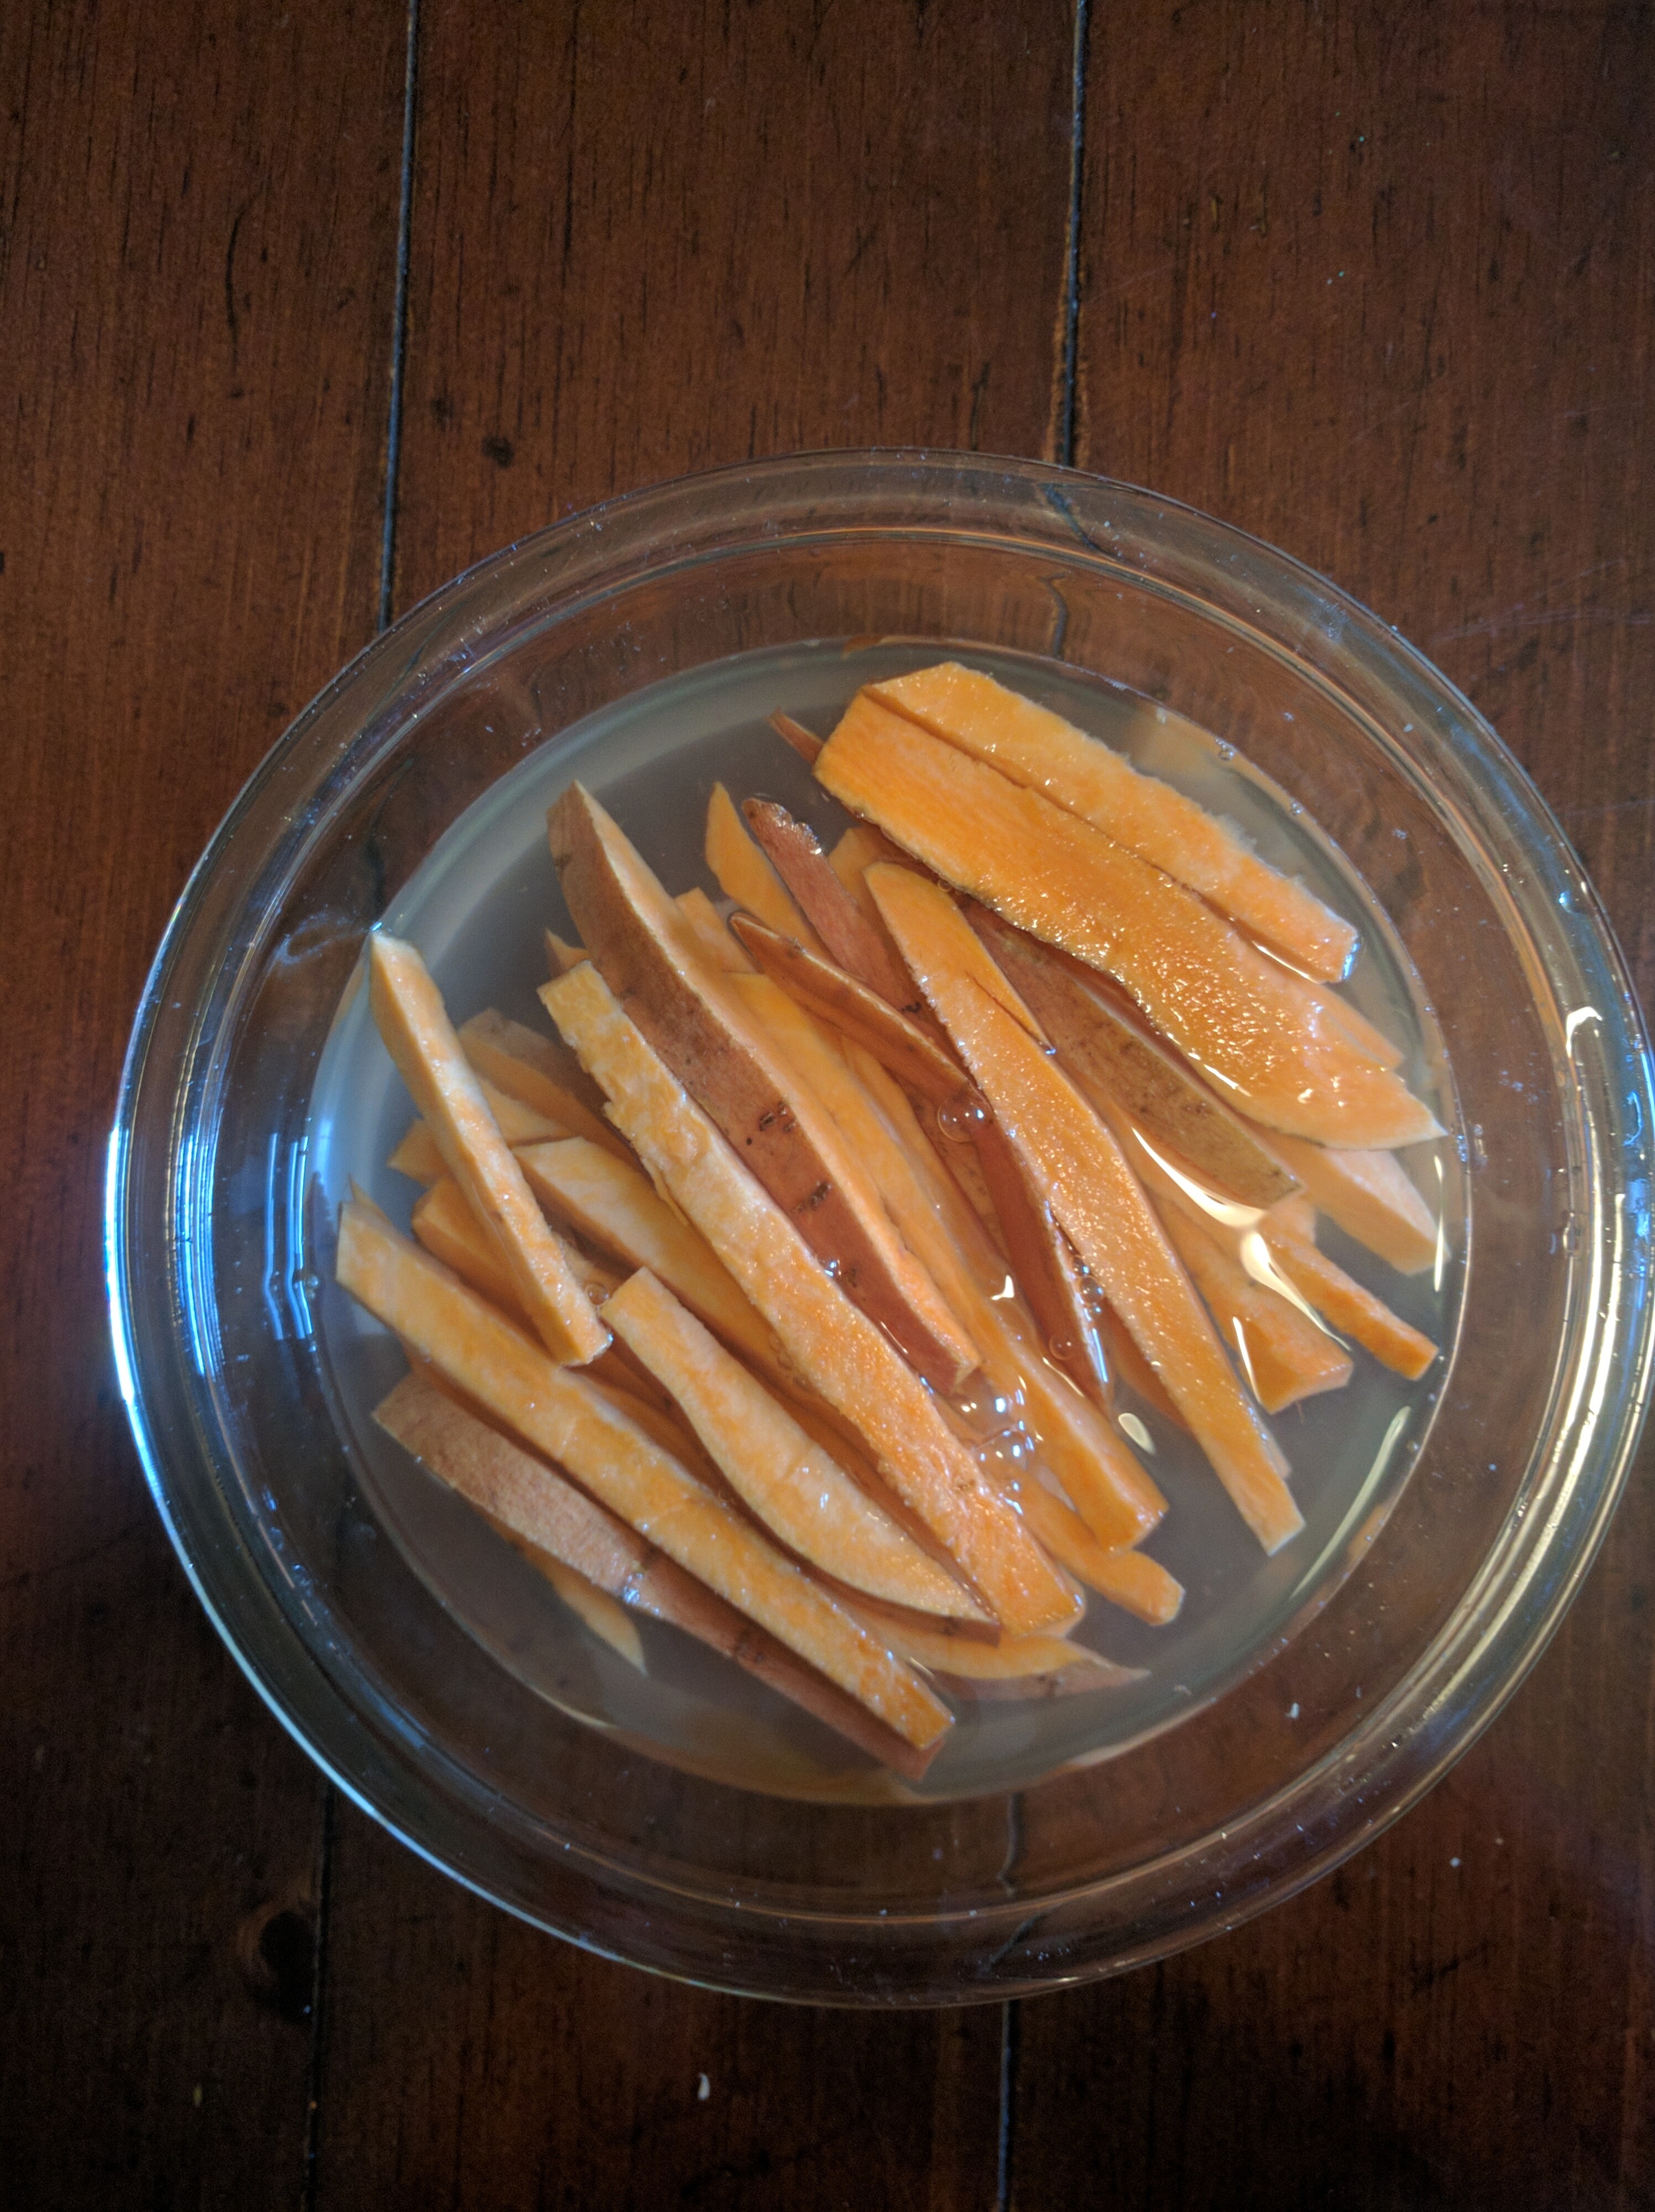
Fries ready for an hour in the fridge

Name that french phrase! (mise en place)

Headed to the oven, then to my tummy!

Ready for the eating! M doesn't appreciate the cayenne so I sprinkle it on mine at the table.
- 1 large sweet potato
- 1 or 2 tbsp EVOO (extra-virgin olive oil)
- 1 tbsp chili powder (or more or less depending on your taste)
- 2 tsp garlic powder (or more or less depending on your taste)
- Optional: cayenne pepper to taste
- Slice your sweet potato into fries. I start by halving it lengthwise then slicing into long, thin strips.
- Optional: Soak fries in bowl of water in the fridge for at least 1 hour. I read somewhere (probably on Pinterest) that this releases some starch from the potato which makes them crispier. You can see in the bowl after an hour that the water is cloudy, so I guess it works! You'll want to rinse them in a strainer at the end of that hour.
- Put fries into a bowl and coat with EVOO
- Coat fries with spices and mix in bowl to make sure they are well covered.
- Line a cookie sheet with parchment paper then space out fries in lines. The less they touch, the better.
- Bake at 400 for 30 minutes, flipping the fries over halfway through. PS: I'd check on them after flipping. I typically only leave them in 10 minutes on that second side.
One potato makes 2 servings for us. Also, you can change the spices to include your favorites. I've added cumin before and that's always tasty! I would add, watch out when you open that oven at 400! All those degrees hit you smack in the face if you lean down to pull out your fries. We enjoy these with organic ketchup from Aldi (love you, Aldi).
Herbed Turkey Burgers

"Homemade" bread crumbs. Crumble one slice of bread and bake at 350 for a few minutes. We like our bread sans nitrites/nitrates, so Ezekiel bread is the way to go!
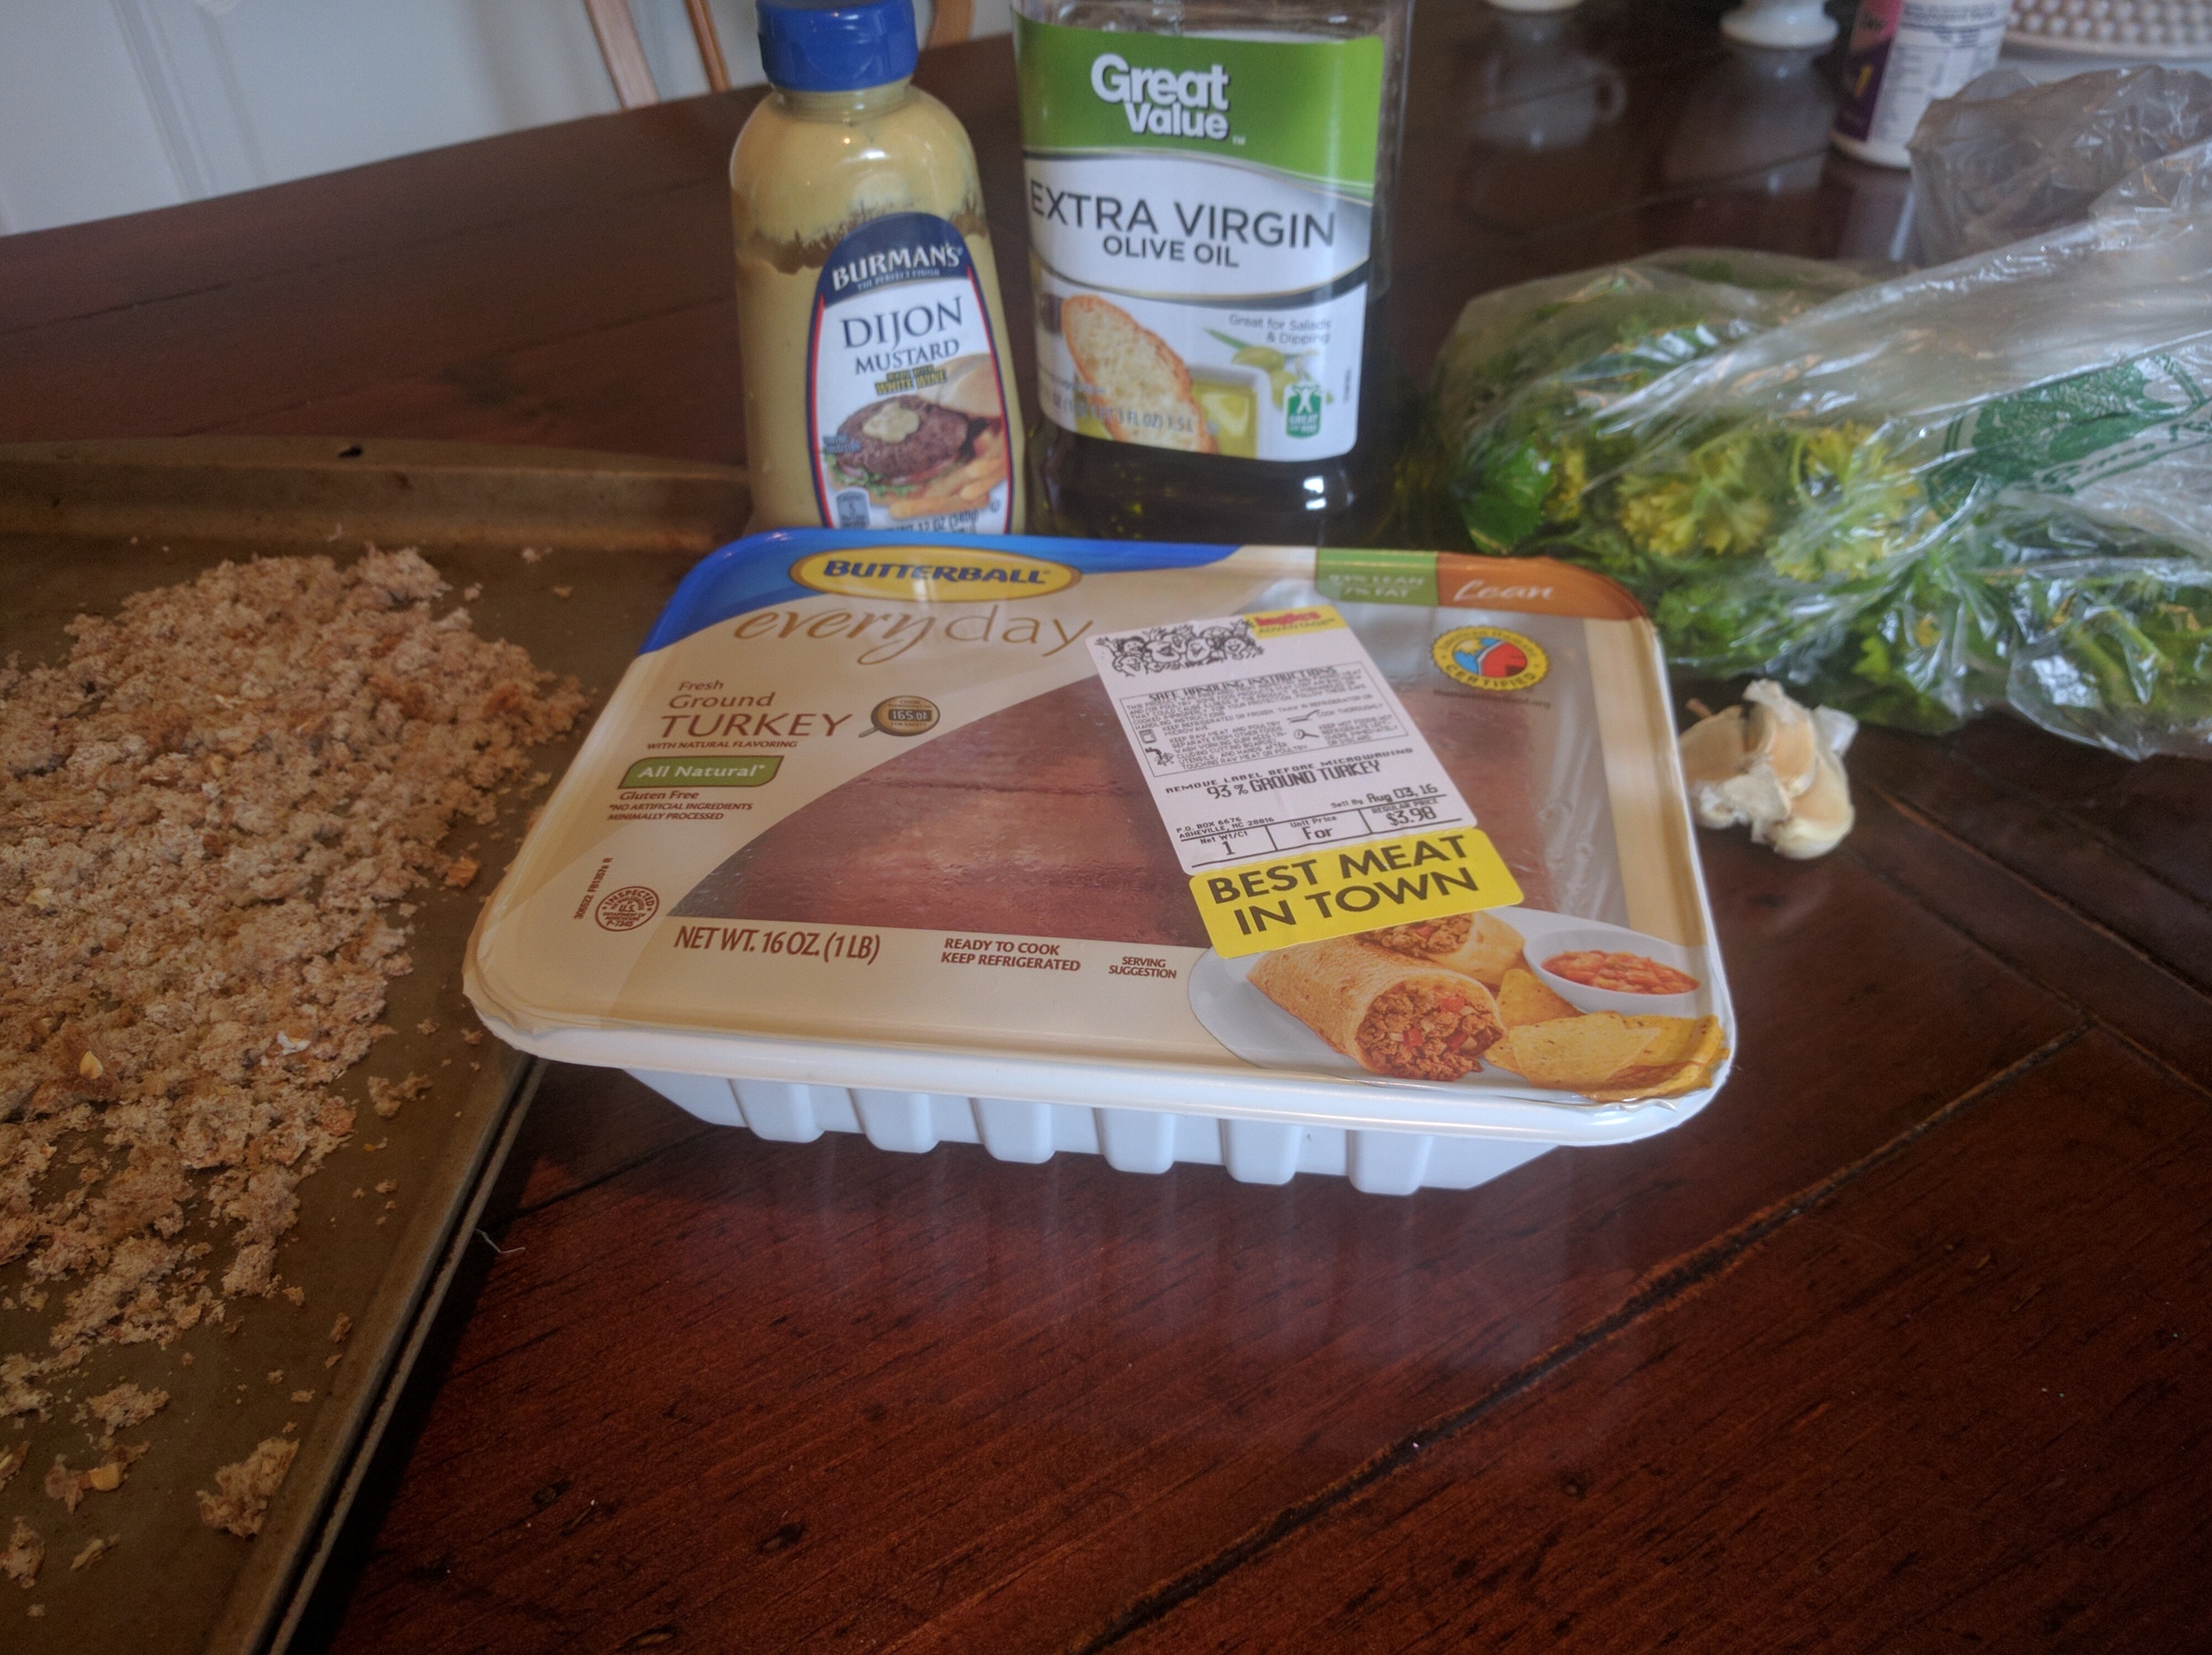
One more mise en place! All the parsley at Ingles was looking sad. Hopefully your parsley isn't so yellow.

Dicing garlic by hand is the only way to go. I tried one of those garlic press things...not effective.
Just add ground turkey!

Too bad this photo isn't scratch + sniff!

What burger is complete without a crispy dill pickle?!
First thing's first: purchase dark, lean turkey. The cheap stuff is the fatty stuff. We always buy at least 93% lean. And we get grass-fed when it's on sale. That is all, on to the exciting stuff:
- 1 lb ground turkey (original recipe calls for an extra fourth of a pound, but I have never used more than the 1)
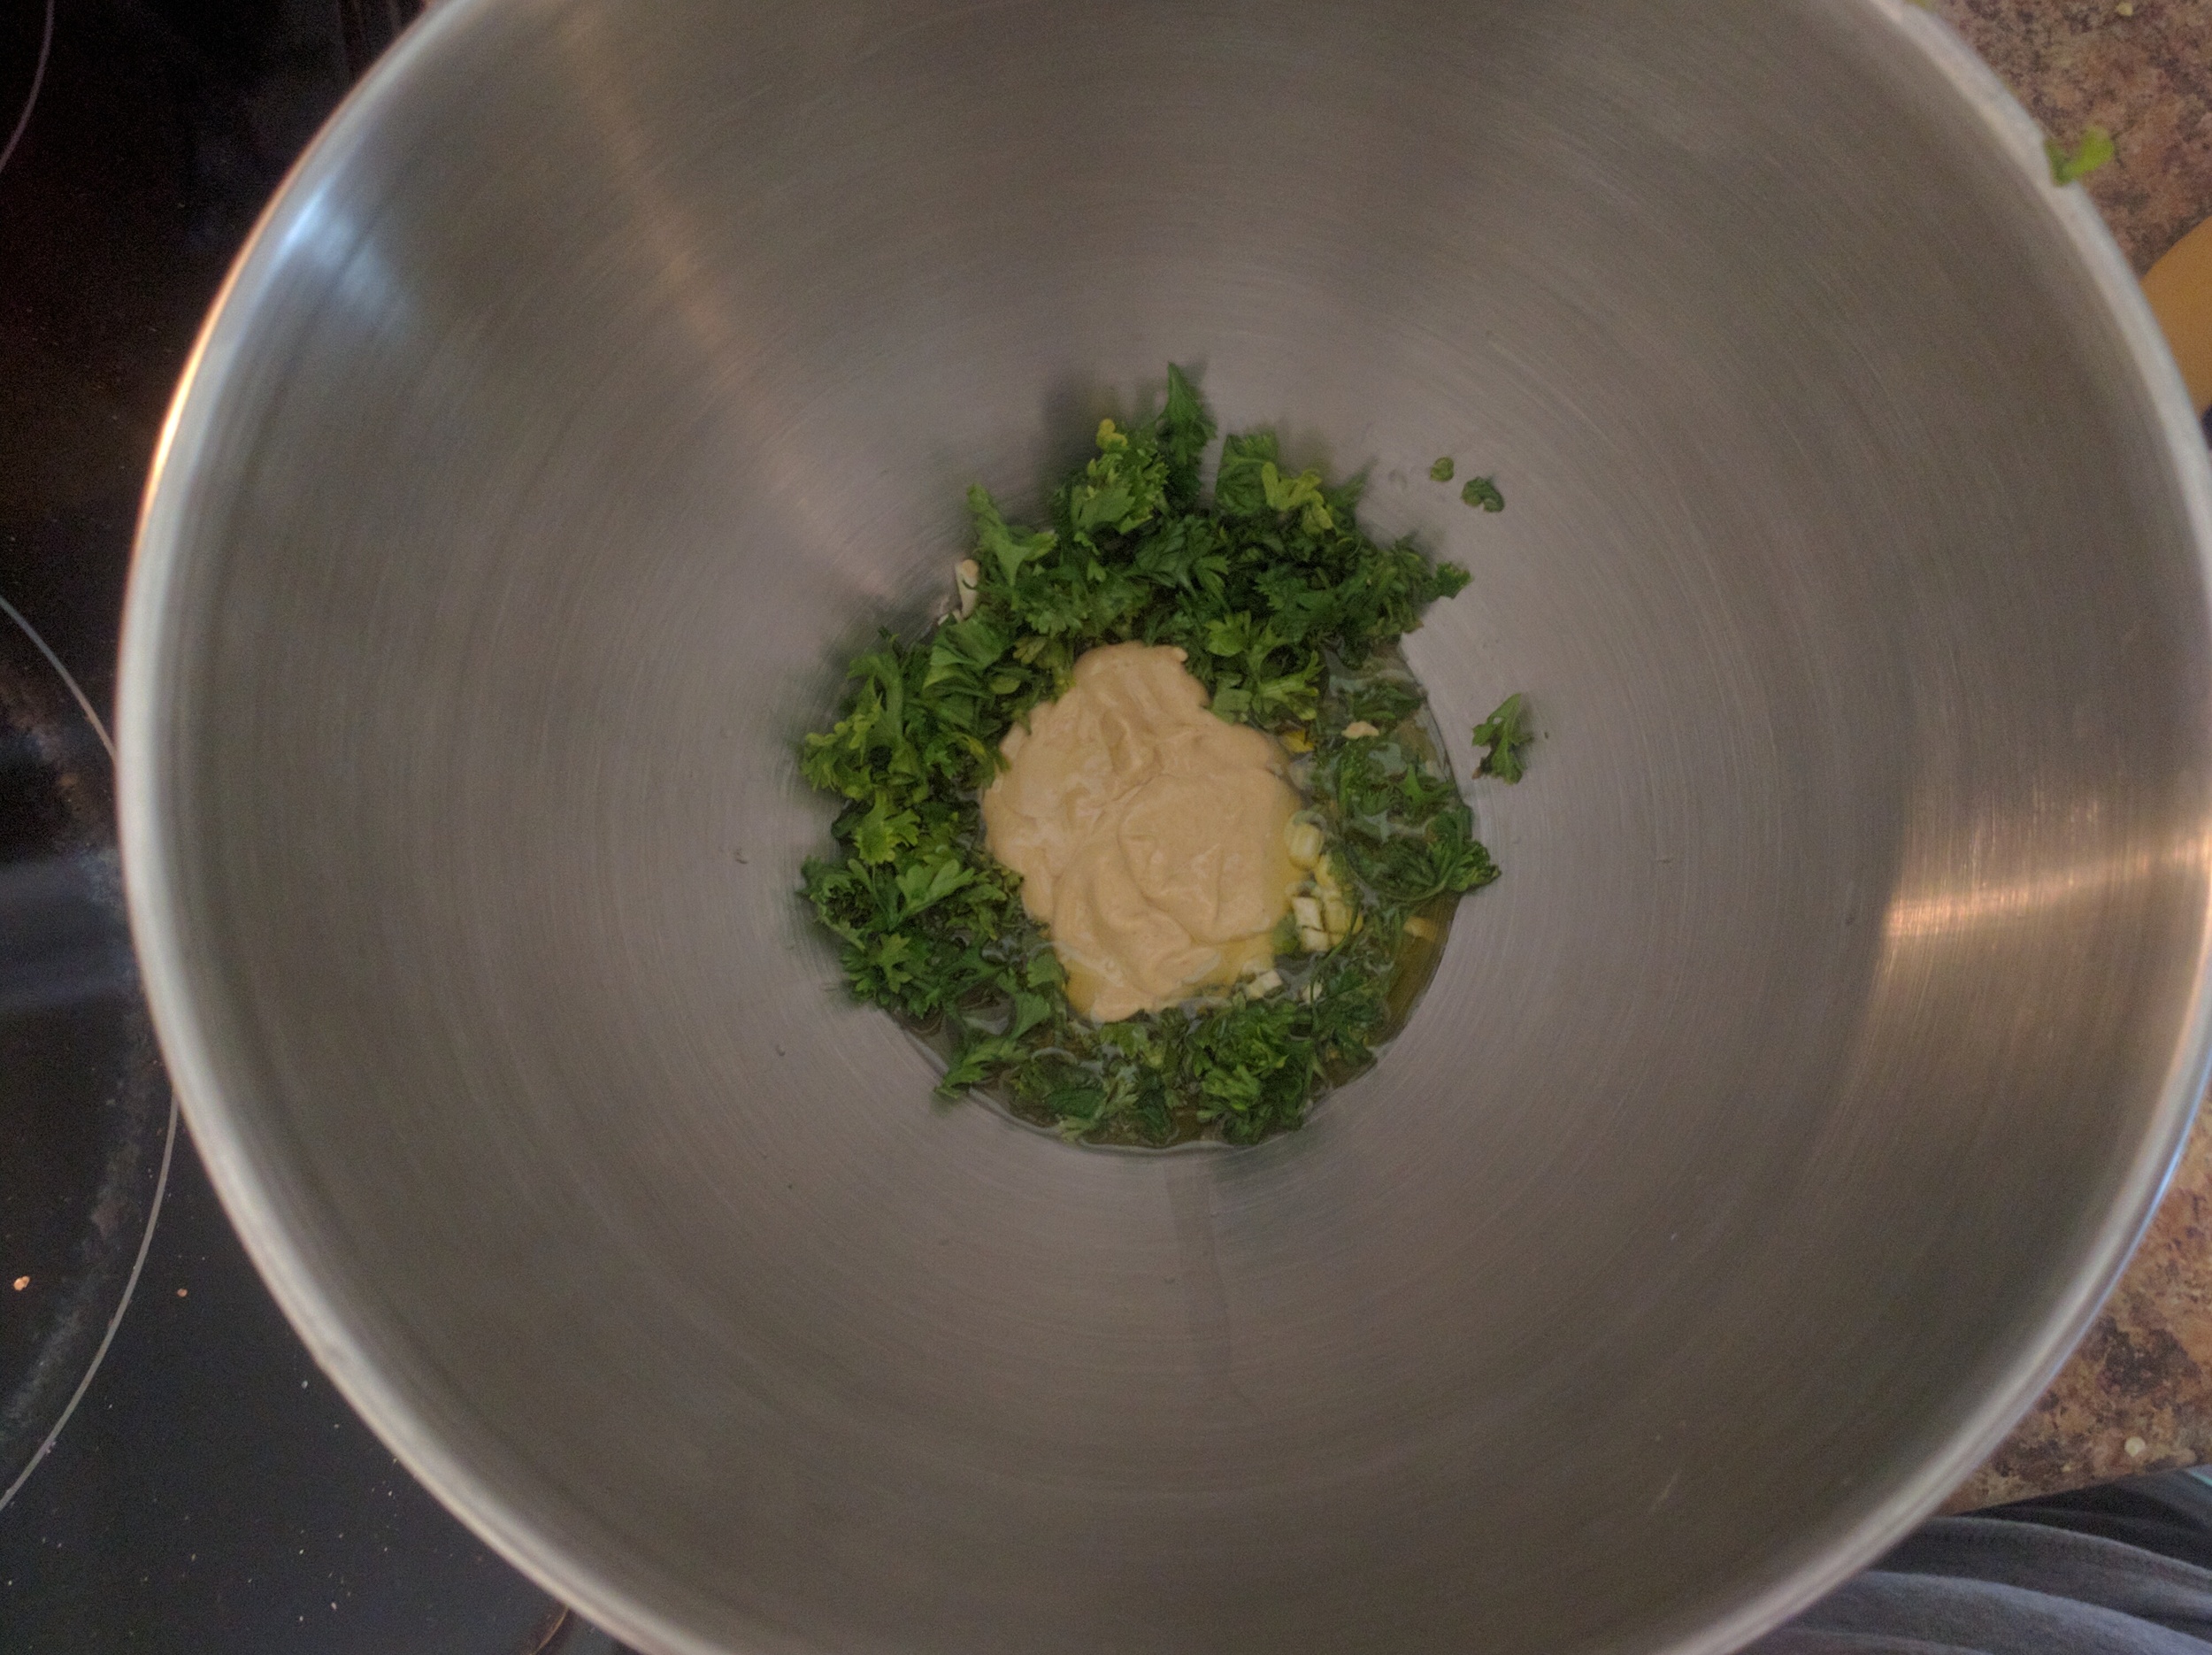
- 2 tbsp fresh chopped parsley
- 2 tbsp fresh chopped chives (I don't include these, mostly because I forget to buy them at the store)
- 4 tsp EVOO
- 1.5 tbsp Dijon Mustard
- 3 tbsp bread crumbs I make my own (see first photo) but you do you!
- 2 or 3 large garlic cloves, minced
- All your favorite burger toppings (tomato, lettuce, onion, pickles, jalapenos, cheese, etc)
- If you are making your own breadcrumbs, do this first. I just crumble one slice of Ezekiel bread, spread those crumbs out on a cookie sheet, then bake them at 350 for just a few minutes until they are dry and toasted.
- Mix the turkey, parsley, chives, EVOO, mustard, bread crumbs, and garlic. You can do this by hand (ew, I'm trying to touch raw turkey as little as possible) or use your stand mixer like me!
- Once well combined, form 4 burger patties. You can refrigerate them for later or go ahead and start cooking.
- Burgers can go on the grill or in a non-stick pan on the stove. Cook them covered, 7-9 minutes on each side. They are finished when they reach an internal temperature of 160-165 (hope you've got a meat thermometer). Daniel Plan Tip: Don't overcook them or press on them while cooking or else you'll end up with dry burgers.
- Add burger to those homemade buns, add toppings, then devour!
Grilling out for more than 4? Just double the recipe and proceed! The bun recipe makes 8 so if you need more than that, double it too. Just keep doubling till all your people are fed!
I hope you stuck with me during this Foodie Friday. It's worth your time, I guarantee. Your taste buds will thank you! If you make this meal, share it with me on Instagram! #shalomsisters #foodiefriday #turkeyburgersbringshalom
I'll see you Saturday if you're a subscriber, otherwise, come back Sunday for a new song for your week! Enjoy your weekend folks!